
Mastering Geomorphology Mapping in ArcGIS: A Step-By-Step Guide
Geospatial analysis is a powerful tool used in various fields, including geomorphology. With ArcGIS, a popular geographic information system software, you can create detailed and accurate geomorphology maps. Here is a step-by-step guide to mastering geomorphology mapping in ArcGIS.
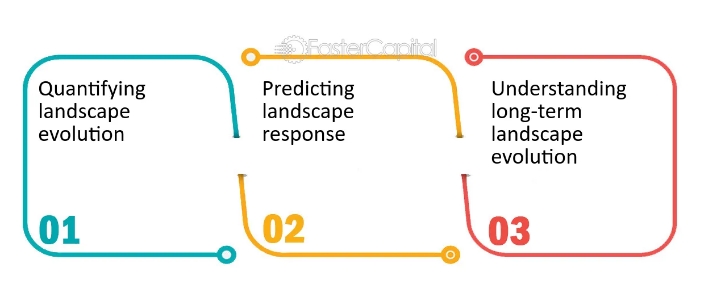
Understanding Geomorphology
Before diving into mapping, it is essential to have a solid understanding of geomorphology. Geomorphology is the study of the physical features of the Earth’s surface and the processes that shape them. This knowledge will help you interpret the data and create meaningful maps.
Data Collection and Preparation
The first step in geomorphology mapping is collecting and preparing the data. This may involve gathering elevation data, land cover data, and any other relevant information. Ensure that the data is accurate and in a compatible format for ArcGIS.
Creating a Base Map
Start by creating a base map in ArcGIS. This map will serve as the foundation for your geomorphology mapping. Include relevant layers such as roads, rivers, and boundaries to provide context for your analysis.
Delineating Watersheds
One crucial aspect of geomorphology mapping is delineating watersheds. This involves identifying the boundaries of drainage basins based on elevation data. ArcGIS provides tools such as the Watershed tool to help with this process.
Classifying Landforms
Next, classify the landforms within the study area. This can include features such as mountains, valleys, and plains. Use tools in ArcGIS such as the Slope tool to help with landform classification.
Analyzing Slope and Aspect
Slope and aspect are important factors in geomorphology mapping. Analyze the slope and aspect of the terrain using tools in ArcGIS to understand the topography of the area.
Creating a Geomorphic Map
Using the information gathered from the previous steps, create a geomorphic map in ArcGIS. This map should display the different landforms, watersheds, and terrain characteristics within the study area.
Interpreting the Results
Once the geomorphic map is complete, it is essential to interpret the results. Look for patterns, trends, and relationships in the data to gain insights into the geomorphology of the area.
Conclusion
Mastering geomorphology mapping in ArcGIS requires a combination of knowledge, data collection, and analysis skills. By following this step-by-step guide, you can create detailed and accurate geomorphic maps that provide valuable insights into the processes shaping the Earth’s surface.